


Hi there! 🙂
I love writing shaders, it always surprises me what we can do with writing shaders and how powerful shaders can be.
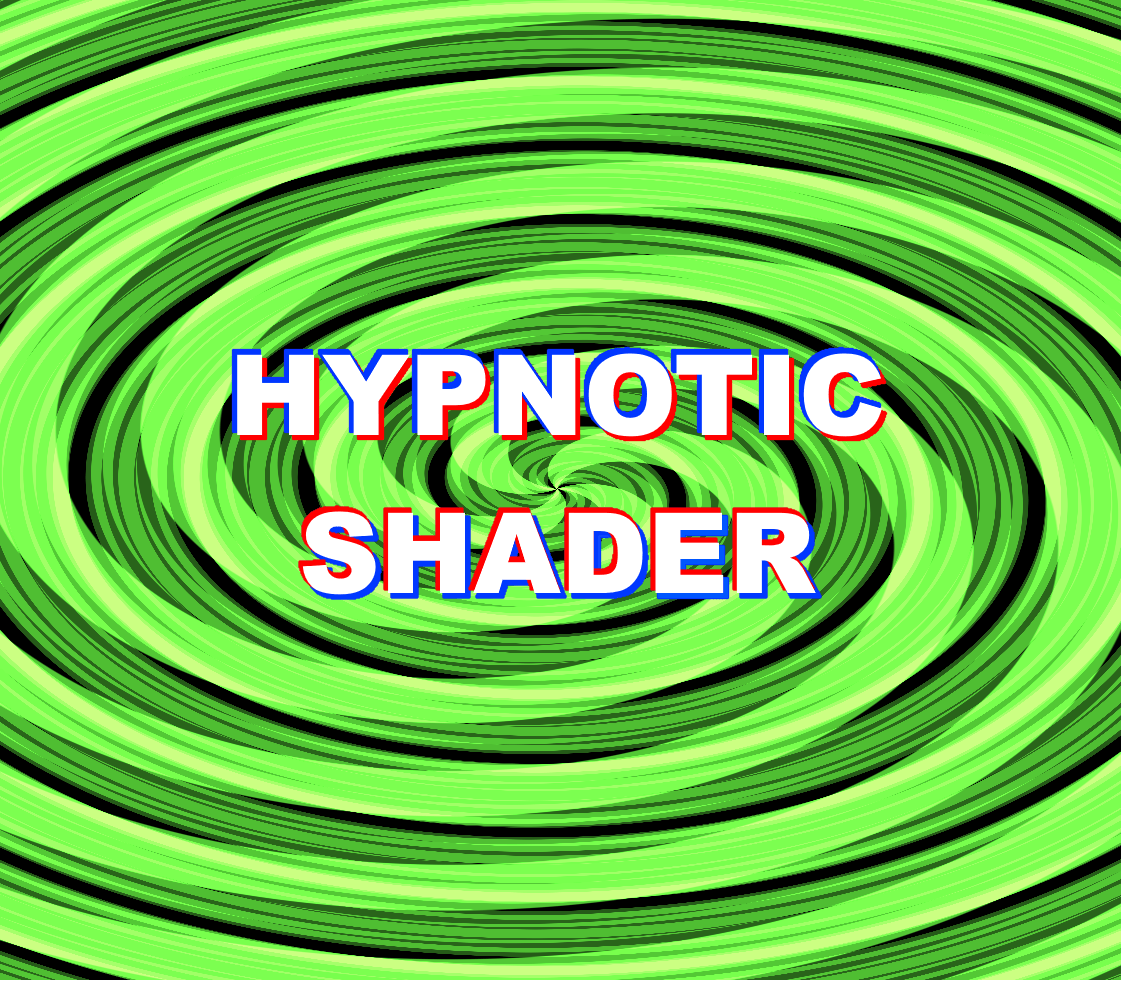
I came to the idea to create some spiral effects using a shader and so I created this:
https://www.shadertoy.com/view/tdfXWS
I will give some more in depth explanation of how I managed to create this visual effect. 🙂
Start
To start I wanted to calculate the distance of the surface and visualize this by having a faded circle since the middle distance will be 0 and the corners will be 1.
Luckily shaders have some build in methods which will make the life of a shader programmer much easier!
Using Unity3D CG shader language to show how everything works
Shader "Unlit/Spiral" {
    Properties {
        _Color("Color", Color) = (1,1,1,1) // Main color
        _MainTex("Albedo (RGB)", 2D) = "white" {} // Texture
    }

    SubShader {
        Pass {
            Blend SrcAlpha OneMinusSrcAlpha
            CGPROGRAM

            // standard appdata, v2f structs ..

            sampler2D _MainTex;
            fixed4 _Color;

            fixed4 frag(v2f IN) : SV_Target {
                float c = 0; // color value.
                float2 uv = IN.uv;
                // set uv's from bottom corner to middle of the screen.
                uv -= float2(0.5, 0.5);
                uv *= 2.0;

                float dis = length(uv); // length calculates the distance of the uv coordinates
                c = dis; // applying calculated distance value to our color value.
                return fixed4(c,c,c,c); // apply final color
            }
            ENDCG
        }
    }
}
Result:
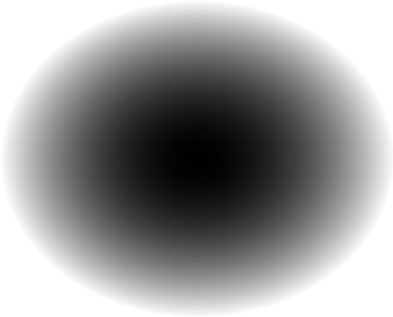
Now I made a cricle!.. (sorta) Lets play with this.
I added a property I called _Distance which will add distance to the current distance calculations. With this property we can play around with the size of our circle and create already a funky effect.
// c = dis; // applying calculated distance value to our color value.
// to :
c = dis * _Distance; // adding some extra distance.
As result we get this:
Now one thing which is good to know, everything which is white is bigger than 1.
(Don’t believe me? Try adding if(c > 1) c = 0; after the c = dis.. and you will notice the while parts will become black.)
So we can simply add the sinus functionality and we will get circles all over the place faded from 0-1.
// c = dis * _Distance; // adding some extra distance.
// to:
c = sin(dis * _Distance); // applying sinus to our distance calculation.
Result:
Now the fun begins to start! Already getting a little bit dizzy by looking at the distance of our circles change.
But as we can see, this is not quite a spiral yet. We need to link the circles together. How about adding an angle to our circles?
Let’s apply arctan.
Shader "Unlit/Spiral" {
    Properties {
        _Color("Color", Color) = (1,1,1,1)
        _MainTex("Albedo (RGB)", 2D) = "white" {}
        _Distance("distance", float) = 10
    }

    SubShader {
        Pass {
            Blend SrcAlpha OneMinusSrcAlpha
            CGPROGRAM
            #pragma vertex vert
            #pragma fragment frag Lambert alpha

            #include "UnityCG.cginc"

            // standard appdata, v2f structs ..

            sampler2D _MainTex;
            fixed4 _Color;
            float _Distance; // adding distance

            // Separate function to split our shader code logic
            float Spiral(float2 uv){
                float dis = length(uv); // length calculates the distance of the uv coordinates
                float angle = atan2(uv.y, uv.x); // calculate arctan of given uv
                float c = sin(dis * _Distance + angle); // applying angle to our circle
                return c;
            }

            fixed4 frag(v2f IN) : SV_Target {
                float c = 0;
                float2 uv = IN.uv;
                uv -= float2(0.5, 0.5);
                uv *= 2.0;

                c = Spiral(uv);
                return fixed4(c,c,c,c);
            }
            ENDCG
        }
    }
}
Result:

As you notice we kinda lost our circle now.. but luckily we already know that our distance calculation goes behind 1 and we added sinus to it already.. so only thing we have to do now is adding some distance!
There is our spiral, that’s it!
….
But there is nothing more fun about shaders than adding stuff to it! So let’s make this spiral alive and give some funky effects to it!
Adding effects
First let’s start with some automated movement to our spiral.
We can easily make our spiral rotating by adding some timed value to it using _Time.
I added a new property called _Speed to increase the speed of the _Time value since it is a quite slow functionality.
// parent: Spiral(..)..
// float c = sin(dis * _Distance + angle); // applying angle to our circle
// to:
float c = sin(dis * _Distance + angle + (_Time*_Speed));
Now you can play with increasing the distance and start to get hypnoticed by the rotating spirals. 😛
Next thing, lets add some more angles to our spiral. How about multiplying our angle by the amount of spirals we want? So, I added a new property called _Spirals and multiply this by our arctan.
// parent: Spiral(..)..
// float angle = atan2(uv.y, uv.x); // calculate arctan of given uv
// to:
float angle = atan2(uv.y, uv.x) * _Spirals; // multiply calculated arctan by the amount of spirals we want.
Result:
Now again, play around with the distance and you will see a lot of spirals. 😉
This is becoming a lot of fun! But the black and white starts to be a bit boring.. Let’s add colors!
I want the spirals to change color over time. If we apply sinus to time it will go from 0-1 over time. So let’s apply sinus to time and apply this sin time to a color.
I have created two new properties. _ColorSpeed to adjust the speed of our color change. _ColorStrength to adjust the strength of the changing colors.
I multiply the calculated color by 0.4 to smooth it out and add _ColorStrength to it to add some strength to our new color.
fixed4 frag(v2f IN) : SV_Target {
    float c = 0;
    float2 uv = IN.uv;
    uv -= float2(0.5, 0.5);
    uv *= 2.0;

    c = Spiral(uv);
    float4 colorChange = float4(sin(_Time * _ColorSpeed * float3(0.3, 0.5, 0.6)) * 0.4 + _ColorStrength, 1.0); // color changing through time (float3(0.3, 0.5, 0.6) is a random color, you can change it to whatever you feel best for you.)
    return fixed4(c,c,c,c) * colorChange;
}
Result:
This is starting to get funky!
You know what will make it even more funky?
3D (ish) 😀
But how do we add 3D to a 2D sprite shader?
Well we can add a z axis, copy our spirals and add size to each copy towards it z axis so it will overlap the other spirals.
Might sounds really difficult but it really is not 🙂 I also do not want to call it 3D but more simulating 3D.
Example:
Now lets write this z axis and apply it to create some sizes.
In order to clarify some logic I renamed property _Speed to _RotationSpeed so I can use _Speed for our z axis speed.
I’ve added two extra new properties for the 3D simulation. _Layers determining how many layers we want to show and _Size which is the start size of each layer.
To calculate our z axis I calculation the fraction of the determined z postion and add _Time.y which is the global time. With the calculated z factor we can use lerp which basically mixes the z factor towards the first two given factors. So, if z = 0.5 and our maximum size is 10 and minimum is 0.5 then our current size will be 4.75.
Now we can apply this size to our uv to increase/decrease our uv sizes and add these layers on top of each other.
Because now each layer will effect each other so we can visualize them over each other. I’ve added a check if c in Spiral(..) is lower than 0 make c 0. Otherwise it will cut holes in the spirals from other layers.
Shader "Unlit/Spiral" {
    Properties {
        _Color("Color", Color) = (1,1,1,1)
        _MainTex("Albedo (RGB)", 2D) = "white" {}
        _Distance("distance", float) = 10
        _RotationSpeed("rotation speed", float) = 10
        _Speed("speed", float) = 10
        _ColorStrength("Color strength", Range(0, 1)) = 0.6
        _ColorSpeed("color changing speed", float) = 10
        _Spirals("spirals", float) = 1
        _Layers("layers", float) = 2
        _Size("size", float) = 2
    }

    SubShader {
        Pass {
            Blend SrcAlpha OneMinusSrcAlpha

            // standard appdata, v2f structs ..

            sampler2D _MainTex;
            fixed4 _Color;
            float _Distance;
            float _Speed;
            float _RotationSpeed;
            float _ColorStrength;
            float _ColorSpeed;
            float _Spirals;
            float _Layers;
            float _Size;

            float Spiral(float2 uv){
                float dis = length(uv);
                float angle = atan2(uv.y, uv.x) * _Spirals;
                float c = sin(dis * _Distance + angle + (_Time * _RotationSpeed));
                if(c < 0) c = 0; // making sure our color value is not below 0
                return c;
            }

            fixed4 frag(v2f IN) : SV_Target {
                float c = 0;
                float2 uv = IN.uv;
                uv -= float2(0.5, 0.5);
                uv *= 2.0;

                for(float i = 0; i <= 1; i+= 1.0/_Layers){
                    float z = frac(i + (_Time.y * _Speed)); // get z axis from 0-1
                    float size = lerp(_Size, 0.5, z); // mixing the size from start size to minimum size according to our z axis

                    c += Spiral(uv * size);
                }

                float4 colorChange = float4(sin(_Time * _ColorSpeed * float3(0.3, 0.5, 0.6)) * 0.4 + _ColorStrength, 1.0);
                return fixed4(c,c,c,c) * colorChange;
            }
            ENDCG
        }
    }
}
Result:
Wow, that is starting to mess with my eyes!
Now lets finish it up with some small polishing 🙂
Polishment
Even though I already finished the effect I’ve had in my mind from the beginning, there are some small things to polish.
The most important polishment to add is in my opinion to add some fading to the z axis.
Currently the layers flash in and flash away which looks a little bit odd in my opinion. Luckily shaders have a really nice feature called smoothstep. Quote from wiki: The function receives a real number x as an argument and returns 0 if x is less than or equal to the left edge, 1 if x is greater than or equal to the right edge, and smoothly interpolates, using a Hermite polynomial, between 0 and 1 otherwise.
Code will probably clarify this a bit. 🙂
for(float i = 0; i <= 1; i += 1.0 / _Layers){
    float z = frac(i + (_Time.y * _Speed));
    float size = lerp(_Size, 0.5, z);
    // if z is between 0-0.1 smoothen to 1, if z is between 0.9-1 smoothen to 0
    float fade = smoothstep(0.0, 0.1, z) * smoothstep(1.0, 0.9, z);

    c += fade * Spiral(uv * size); // apply fade
}
result:
As final step I would like to smoothen the spiral lines. I want them to be sharper without faded edges. Now we know about smoothstep.. lets apply it to our spirals. 🙂
To make the sharper edges more clear I added two new properties, _SpiralEdgeFade to define when the spiral edge is allowed to start fading it edges and _LayerAlpha to apply some alpha to each layer so the front layer is most visible when sharpened.
Final full CG code1
Shader "Unlit/Spiral" {
    Properties {
        _Color("Color", Color) = (1,1,1,1)
        _MainTex("Albedo (RGB)", 2D) = "white" {}
        _Distance("distance", float) = 10
        _RotationSpeed("rotation speed", float) = 10
        _Speed("speed", float) = 10
        _ColorStrength("Color strength", Range(0, 1)) = 0.6
        _ColorSpeed("color changing speed", float) = 10
        _Spirals("spirals", float) = 1
        _SpiralEdgeFade("spirals edge fade", Range(0, 1)) = 0.1
        _Layers("layers", float) = 2
        _LayerAlpha("layer alpha", float) = 0.4
        _Size("size", float) = 2
    }

    SubShader {
        Pass {
            Blend SrcAlpha OneMinusSrcAlpha
            CGPROGRAM
            #pragma vertex vert
            #pragma fragment frag Lambert alpha

            #include "UnityCG.cginc"

            sampler2D _MainTex;
            fixed4 _Color;
            float _Distance;
            float _Speed;
            float _RotationSpeed;
            float _ColorStrength;
            float _ColorSpeed;
            float _Spirals;
            float _SpiralEdgeFade;
            float _Layers;
            float _LayerAlpha;
            float _Size;

            struct appdata {
                float4 vertex : POSITION;
                float2 uv : TEXCOORD0;
            };

            struct v2f {
                float2 uv : TEXCOORD0;
                float4 vertex : SV_POSITION;
            };

            float4 _MainTex_ST;

            v2f vert(appdata v) {
                v2f o;
                o.vertex = UnityObjectToClipPos(v.vertex);
                o.uv = TRANSFORM_TEX(v.uv, _MainTex);
                return o;
            }

            float Spiral(float2 uv){
                float dis = length(uv);
                float angle = atan2(uv.y, uv.x) * _Spirals;
                float c = sin(dis * _Distance + angle + (_Time * _RotationSpeed));
                if(c < 0) c = 0;
                c = smoothstep(0.0, _SpiralEdgeFade, c); // smoothen edge fade
                return c * _LayerAlpha;
            }

            fixed4 frag(v2f IN) : SV_Target {
                float c = 0;
                float2 uv = IN.uv;
                uv -= float2(0.5, 0.5);
                uv *= 2.0;

                for(float i = 0; i <= 1; i += 1.0 / _Layers){
                    float z = frac(i + (_Time.y * _Speed));
                    float size = lerp(_Size, 0.5, z);
                    float fade = smoothstep(0.0, 0.1, z) * smoothstep(1.0, 0.9, z);

                    c += fade * Spiral(uv*size);
                }

                float4 colorChange = float4(sin(_Time * _ColorSpeed * float3(0.3, 0.5, 0.6)) * 0.4 + _ColorStrength, 1.0);
                return fixed4(c,c,c,c) * colorChange;
            }
            ENDCG
        }
    }
}
Final result:
That is it!
If you would like to live edit this shader, feel free to go to my shadertoy project:
https://www.shadertoy.com/view/tdfXWS
I hope you liked this post 🙂
If you created something with this, please let me know! I am always happy to see what other people create. If you have any questions or remarks regarding this post, please feel free to let me know in the comments section below or send me a message through Instagram!
Thanks for reading!
– Justin Scott
2 Responses