Hello readers!
Welcome to part 2 of HTML5 build series. This episode we will create our player and clean up our organization of everything we made in part 1. We will organize our project by using import and export feature from JavaScript (ES6)! Using import and export we can easily use scripts from other files by declaring the file or script inside the file/script you want to import an exported script.
Using this we can clearly see which file uses which code from other files, where we getting all our data from and make our code much more readable.
Readability is always really important because if you have to look back at your code after a few months or even a year or so. You should write it in a way it is still understandable after digging in your old code for a few minutes.
Lets start
We will start by organizing our current code from part 1. We are going to do this by converting all our codes to have exportable scripts and import the scripts in files we need them. This way we can delete all file declaring in index.html and see in each script which script it will use!
Lets start by exporting our scenes! Since last part was about scene management, lets clean that part first 😉
//scenes/scene.js
export default class Scene extends PIXI.Container{
    //... rest remains same as in part 1
}
//scenes/menu.js
export default class Menu extends Scene {
    //... rest remains same as in part 1
}
//scenes/game.js
export default class Game extends Scene {
    //... rest remains same as in part 1
}
//scenes/sceneManager.js
export default class SceneManager extends PIXI.Container {
    //... rest remains same as in part 1
}
Now we exported our scenes and scene management classes!
As you can see I added export default to each class. I used default so JavaScript knows it is the only exportable script from this file.
Now lets import!
// main.js

//importing Menu, Game and SceneManager class from its file.
import Menu from './scenes/menu.js';
import Game from './scenes/game.js';
import SceneManager from './scenes/sceneManager.js';

const renderer= new PIXI.Application({
    width: 800, height: 600, backgroundColor: 0x86e8af, resolution: window.devicePixelRatio || 1,
});
document.body.appendChild(renderer.view);

//using imported scripts
var sceneManager = new SceneManager(renderer);
sceneManager.addScene(new Menu());
sceneManager.addScene(new Game());

sceneManager.renderScene(MENUSTATE);

renderer.ticker.add(function update(delta){
    sceneManager.update(delta);
});
<!-- index.html -->
<html>
<head>
	<meta charset="UTF-8">
	<title>Build series HTML5</title>
	<link rel="shortcut icon" href="https://justinbieshaar.com/wp-content/uploads/2018/02/abt-1-300x300.png">
	<!----<link rel="stylesheet" type="text/css" href="">*/-->
	<!---<script type="text/javascript", src="pixi.js"></script>--->
	<script src="https://pixijs.download/release/pixi.min.js"></script>
	<script src="helpers/references.js"/></script>
	<!-- removed declaring scene and manager here -->
	<script src="helpers/button.js"/></script>
</head>
<body>
	<div id="display"/>
	<!-- removed declaring menu and game here -->
	<!---- Launcher --->
	<script src="main.js"/></script>

</body>
</html>
Now we’ve imported our exportable scripts, lets run!
Oh oh.. we have a problem.
You will probably see that the game does not load anymore and when you open the console the console will say:
main.js:1 Uncaught SyntaxError: Unexpected identifier
This is because we didn’t add type=”module” to our main.js!
Exportable scripts are modules and so does our main.js need to know about modules. So simply editing:
<script src="main.js"/></script>
<!-- to: -->
<script src="main.js" type ="module"/></script>
Hey! the game runs again 🙂
But… we have a new problem 🙁
If we press the button to go to game scene, the game crashes.. This is because our scenes are now in ‘strict mode‘. This means the scripts are totally on there own and do not know anything of what we declared in our index.html file.
But don’t be sad! Cleaning up code most likely adds new issues to fix. It is part of programming. This makes our job exiting, challenging and fun, even if it gives you a headache. When you finish it feels like a real victory!
Now lets fix this issue real quick 😛
The error says:
menu.js:15 Uncaught ReferenceError: sceneManager is not defined
at e. (menu.js:15)
at e.a.emit (index.js:181)
at e.dispatchEvent (InteractionManager.js:941)
at e.processPointerUp (InteractionManager.js:1415)
at e.processInteractive (InteractionManager.js:1130)
at e.processInteractive (InteractionManager.js:1070)
at e.processInteractive (InteractionManager.js:1070)
at e.onPointerComplete (InteractionManager.js:1270)
at e.onPointerUp (InteractionManager.js:1338)
This means sceneManager is null because we can not access it anymore from our Exportable classes. So the easiest way to fix it is adding sceneManager as an additional parameter to our initialize method inside Scene.class.
Note: Psuedo codes
//scenes/scene.js
export default class Scene extends PIXI.Container{
    //code..
    initialize(sceneManager){
    }
}
//scenes/menu.js
import Scene from './scene.js';
export default class Menu extends Scene {
    //code..
    initialize(sceneManager){
        //code..
        this.button.setOnPointerClick(function(){
            sceneManager.renderScene(GAMESTATE);
        });
        super.initialize();
    }
    //code..
}
//scenes/gamej.js
import Scene from './scene.js';
export default class Game extends Scene {
    //code..
    initialize(sceneManager){
    //code..
        this.button.setOnPointerClick(function(){
            sceneManager.renderScene(MENUSTATE);
        });
    //code..
    }
    //code..
}
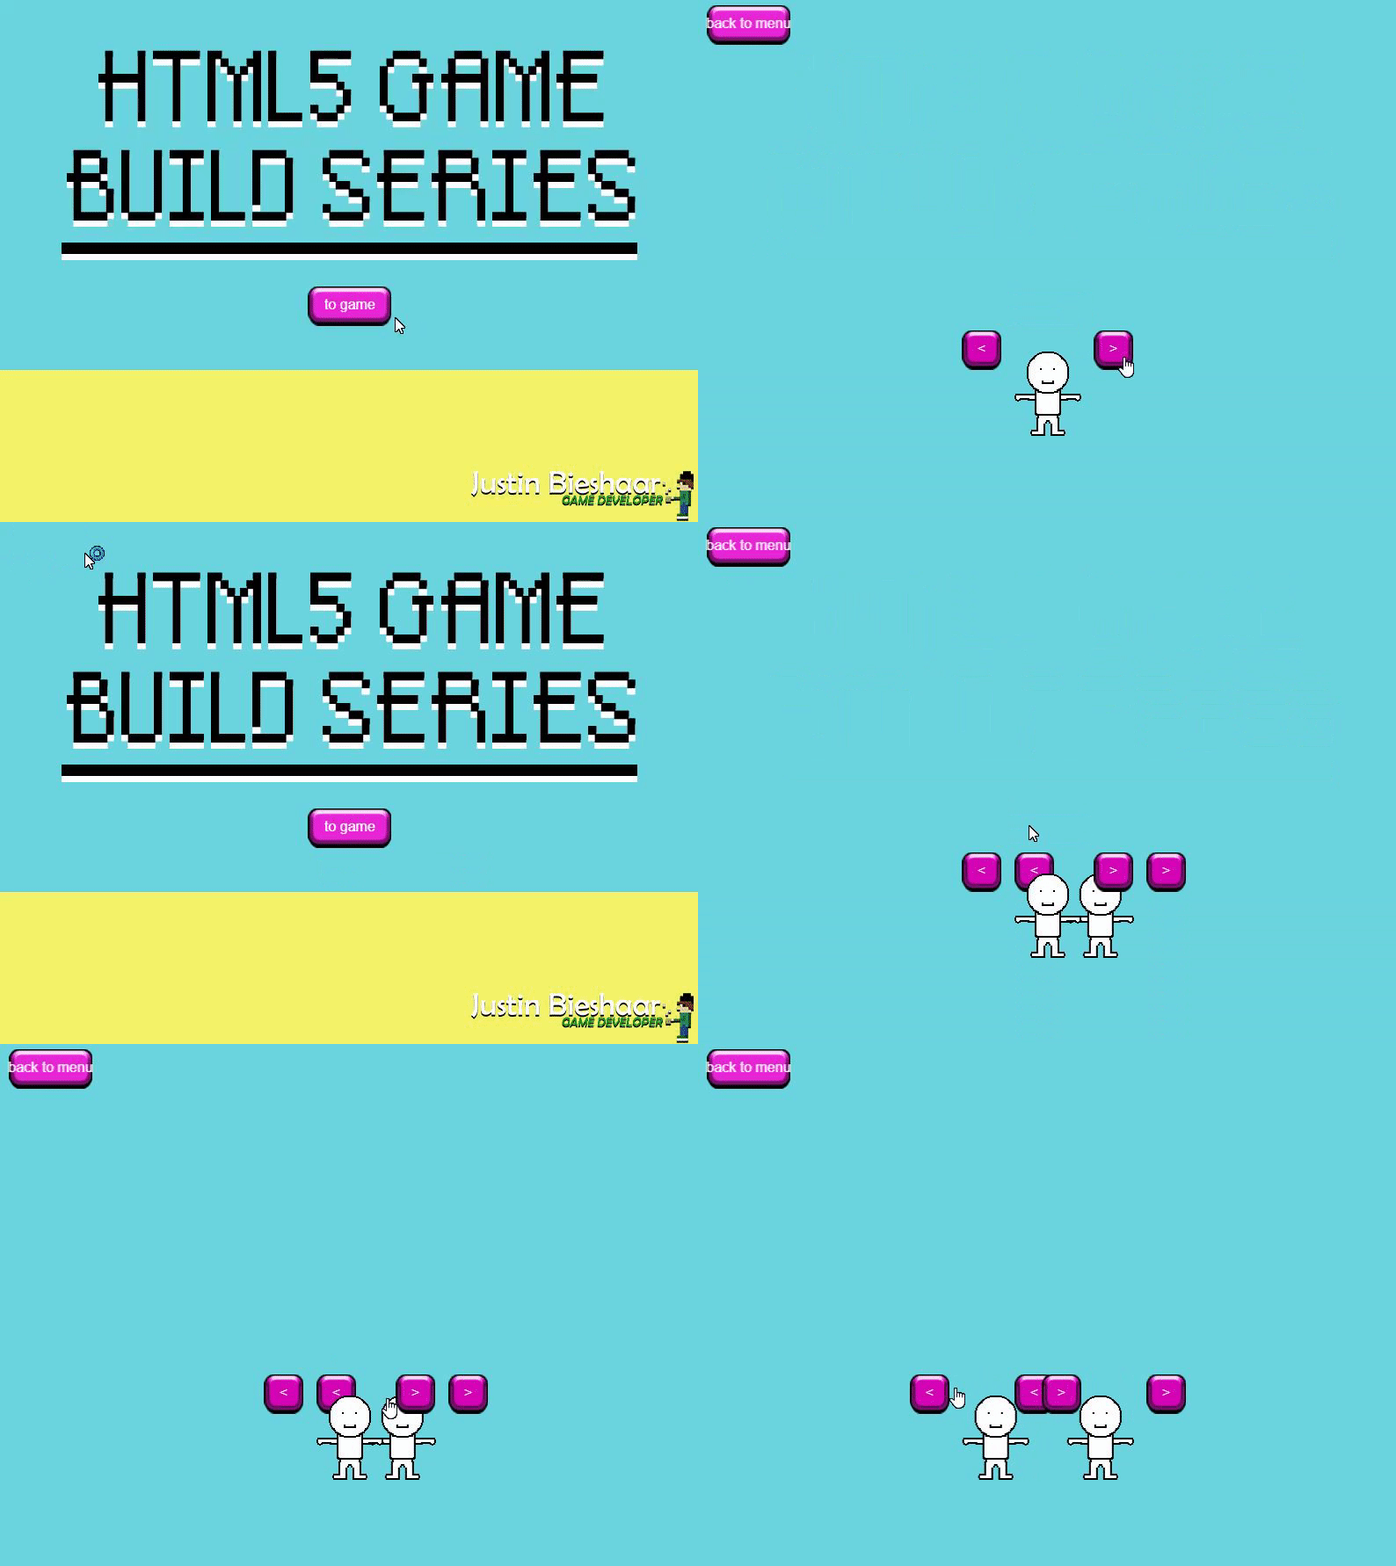
Now when we press our button in the menu we see our character from previous episode again.
But, we still have our helper files which are not exported yet! So to make the circle complete, lets convert them to exportable scripts as well!
//helpers/button.js
export default class Button{
    //... rest remains same in part 1
}
//helpers/references.js
export { sceneStates, uiAssets, menuAssets, gameAssets, artifactsAssets };
var sceneStates = {
    game: 'game',
    menu: 'menu',
};

var uiAssets = {
    buttonPinkNormal: '_assets/button.png',
    buttonPinkPressed: '_assets/button_pressed.png',
    buttonPinkHovered: '_assets/button_hover.png',
};

var menuAssets = {
    background: '_assets/menu.png',
};

var gameAssets = {
    background: '_assets/background.png',
    character: '_assets/test_character.png',
};
As you can see I changed how we will receive our reference data. I group each type of assets in different ‘structs’ and export them individually so we can choose whether what we want to import and what not.
Also in change of part 1 I changed our assets folder to _assets so our assets folder will always be on top of our folder structure (you will see why further in this episode.).
I created backgrounds for our game and menu scene to clarify our reference exports and adding more visuals to our game!
Lets import the new exported scripts!
//scenes/menu.js
import Scene from './scene.js';
import Button from '../helpers/button.js';
import { sceneStates, menuAssets, uiAssets } from '../helpers/references.js';

export default class Menu extends Scene {
    constructor(){
        super(sceneStates.menu);
    }

    initialize(sceneManager){
        var textureBg = PIXI.Texture.from(menuAssets.background);
        this.background = new PIXI.Sprite(textureBg);
        this.background.anchor.set(0.5);
        this.background.x = 400;
        this.background.y = 300;

        this.addChild(this.background);

        this.button = new Button(this, uiAssets.buttonPinkNormal, uiAssets.buttonPinkPressed, uiAssets.buttonPinkHovered);
        this.button.setPosition(400, 350);
        this.button.setText("to game");
        this.button.setOnPointerClick(function(){
            sceneManager.renderScene(sceneStates.game);
        });

        super.initialize();
    }

    //... rest remains same in part 1
}
import Scene from './scene.js';
import Button from '../helpers/button.js';
import { sceneStates, gameAssets, uiAssets } from '../helpers/references.js';

export default class Game extends Scene {
    constructor(){
        super(sceneStates.game);
        this.player = PIXI.Sprite.from(gameAssets.character);

    }

    initialize(sceneManager){
        var textureBg = PIXI.Texture.from(gameAssets.background);
        this.background = new PIXI.Sprite(textureBg);
        this.background.anchor.set(0.5);
        this.background.x = 400;
        this.background.y = 300;

        this.player.anchor.set(0.5);
        this.player.x = 400;
        this.player.y = 450;
        this.addChild(this.player);

        this.button = new Button(this, uiAssets.buttonPinkNormal, uiAssets.buttonPinkPressed, uiAssets.buttonPinkHovered);
        this.button.setPosition(60, 30);
        this.button.setText("back to menu");
        this.button.setOnPointerClick(function(){
            sceneManager.renderScene(sceneStates.men);
        });
        super.initialize();

    }

    //... rest remains same in part 1
}
//main.js
import SceneManager from './scenes/sceneManager.js';
import Menu from './scenes/menu.js';
import Game from './scenes/game.js';
import { sceneStates } from './helpers/references.js';

const renderer= new PIXI.Application({
    width: 800, height: 600, backgroundColor: 0x6cd6e0, resolution: window.devicePixelRatio || 1,
});
document.body.appendChild(renderer.view);

var sceneManager = new SceneManager(renderer);
sceneManager.addScene(new Menu());
sceneManager.addScene(new Game());

sceneManager.renderScene(sceneStates.menu);

renderer.ticker.add(function update(delta){
    sceneManager.update(delta);
});
As you can see we now only import all scripts we actual need. This leads us to having an almost empty index.html and not having to define each file again in our index.html but only inside the files who actually needs to use the desired script.
<!--index.html-->
<!DOCTYPE html>
<html>
<head>
	<meta charset="UTF-8">
	<title>Build series HTML5</title>
	<link rel="shortcut icon" href="https://justinbieshaar.com/wp-content/uploads/2018/02/abt-1-300x300.png">
	<script src="https://pixijs.download/release/pixi.min.js"></script>
</head>
<body>
	<div id="display"/>
	<!---- Launcher --->
	<script src="main.js" type="module"/></script>

</body>
</html>
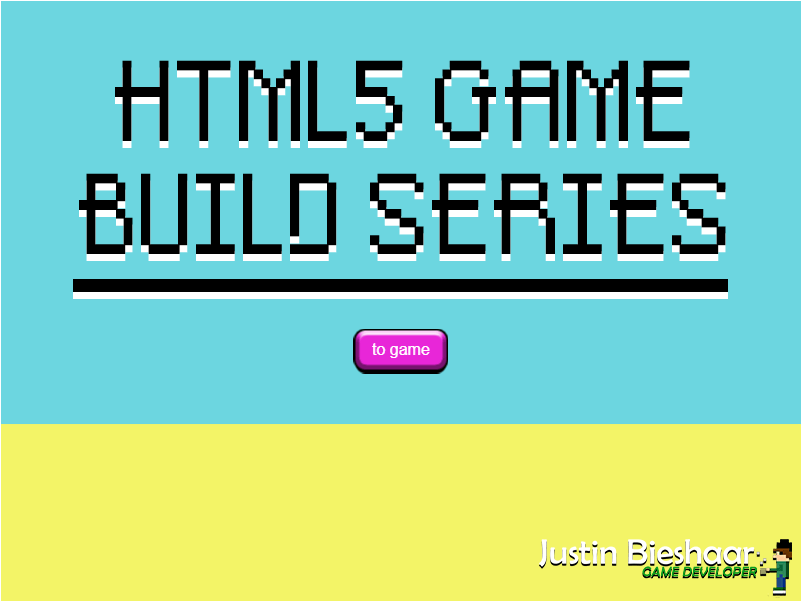
Our menu will now look like this!

Player
Now the fun part begins! Lets create a player and make it move with a press on a button!
While having a look on the future when we want to add some AI and more types of characters I will split it up in two classes. A base class and a child class. The child class will be our actual player we instantiate but using base class code to share functionalities in the future!
Now we know how to make exportable scripts it will be quite easy!
//characters/playerBase.js
export default class PlayerBase{
    constructor(scene, playerImage, xPos, yPos){
        var texturePlayer = PIXI.Texture.from(playerImage);

        this.player = new PIXI.Sprite(texturePlayer);
        this.player.anchor.set(0.5);
        this.player.x = xPos;
        this.player.y = yPos;
        scene.addChild(this.player);

        this.power = 30; // move power
        this.desiredPosition = xPos; // set desiredPosition to x position in initialization.
    }

    MoveLeft(){
        this.desiredPosition -= this.power;
    }

    MoveRight(){
        this.desiredPosition += this.power;
    }

    update(){
        //calculating distance from player position to our desired position.
        var velocity = this.desiredPosition - this.player.x;
        this.player.x += velocity / 10; // dividing by 10 to give the movement a lerping effect.
        // it will take 10 frames to move towards it desired position.
    }
}
//characters/player.js

//importing scripts
import PlayerBase from './playerBase.js';
import Button from '../helpers/button.js';
import { uiAssets } from '../helpers/references.js';

export default class Player extends PlayerBase{
    constructor(scene, playerImage, xPos, yPos){
        super(scene, playerImage, xPos, yPos);
        //creating buttons to move our player
        this.buttonLeft = new Button(scene, uiAssets.buttonPinkSmall, uiAssets.buttonPinkSmall, uiAssets.buttonPinkSmall);
        this.buttonRight = new Button(scene, uiAssets.buttonPinkSmall, uiAssets.buttonPinkSmall, uiAssets.buttonPinkSmall);
        this.buttonLeft.setPosition(xPos - 75, yPos - 75); // positioning at left top of our player
        this.buttonLeft.setText("<");

        var player = this; //assigning local player to our memory to use in button methods.
        this.buttonLeft.setOnPointerClick(function(){
            player.MoveLeft();
        });
        this.buttonRight.setPosition(xPos + 75, yPos - 75); // positioning at right top of our player
        this.buttonRight.setText(">");
        this.buttonRight.setOnPointerClick(function(){
            player.MoveRight();
        });


        this.power = 60; // set power of this player
    }

    update(){
        super.update();
        this.buttonLeft.setPosition(this.player.x - 75, this.player.y - 50); // update player buttons
        this.buttonRight.setPosition(this.player.x + 75, this.player.y - 50); // update player buttons
    }
}
Now we have to import and implement the player inside our game scene:
//scenes/game.js
import Scene from './scene.js';
import Player from '../characters/player.js'; //import player
import Button from '../helpers/button.js';
import { sceneStates, gameAssets, uiAssets } from '../helpers/references.js';

export default class Game extends Scene {
    constructor(){
        super(sceneStates.game);
    }

    initialize(sceneManager){
        this.player = new Player(this, gameAssets.character, 400, 450); //creating player

        this.button = new Button(this, uiAssets.buttonPinkNormal, uiAssets.buttonPinkPressed, uiAssets.buttonPinkHovered);
        this.button.setPosition(60, 30);
        this.button.setText("back to menu");
        this.button.setOnPointerClick(function(){
            sceneManager.renderScene(sceneStates.menu);
        });
        super.initialize();
    }

    update(delta){
        super.update(delta);
        this.player.update();
    }
}
Now we have a player so lets go and test it!

oops.. we have a new problem!
When you now recreate the game scene, you will notice the old scene is still visible! The scenes manager removed the child but did not destroy it. So, to make sure everything gets destroyed we want to be destroyed! Lets add a destroy method to all our classes.
//scenes/scene.js
export default class Scene extends PIXI.Container{
    // rest remains the same

    destroy(){
    }
}
//scenes/menu.js
export default class Menu extends Scene {
    // rest remains the same

    destroy(){
        super.destroy();
        this.background.destroy();
        this.button.destroy();
    }
}
//scenes/game.js
export default class Game extends Scene {
    // rest remains the same

    destroy(){
        super.destroy();
        this.player.destroy();
        this.button.destroy();
    }
}
//helpers/button.js
export default class Button{
    // rest remains the same

    destroy(){
        this.button.destroy();
        this.text.destroy();
    }
}
//characters/playerBase.js
export default class PlayerBase{
    // rest remains the same

    destroy(){
        this.player.destroy();
    }
}
//characters/player.js
export default class Player extends PlayerBase{
    // rest remains the same

    destroy(){
        super.destroy();
        this.buttonLeft.destroy();
        this.buttonRight.destroy();
    }
}
And most importantly!
//scenes/sceneManager.js
export default class SceneManager extends PIXI.Container {
    // rest remains the same

    renderScene(name){
        if(this.scene != null && this.scene.name === name){
            return;
        }
        if(this.scene != null){
            this.scene.destroy(); // calling destroy when new scene gets triggered!
            this.renderer.stage.removeChild(this.scene);
        }
        this.scene = this.getSceneByName(name);
        this.renderer.stage.addChild(this.scene);
    }
    // rest remains the same
}
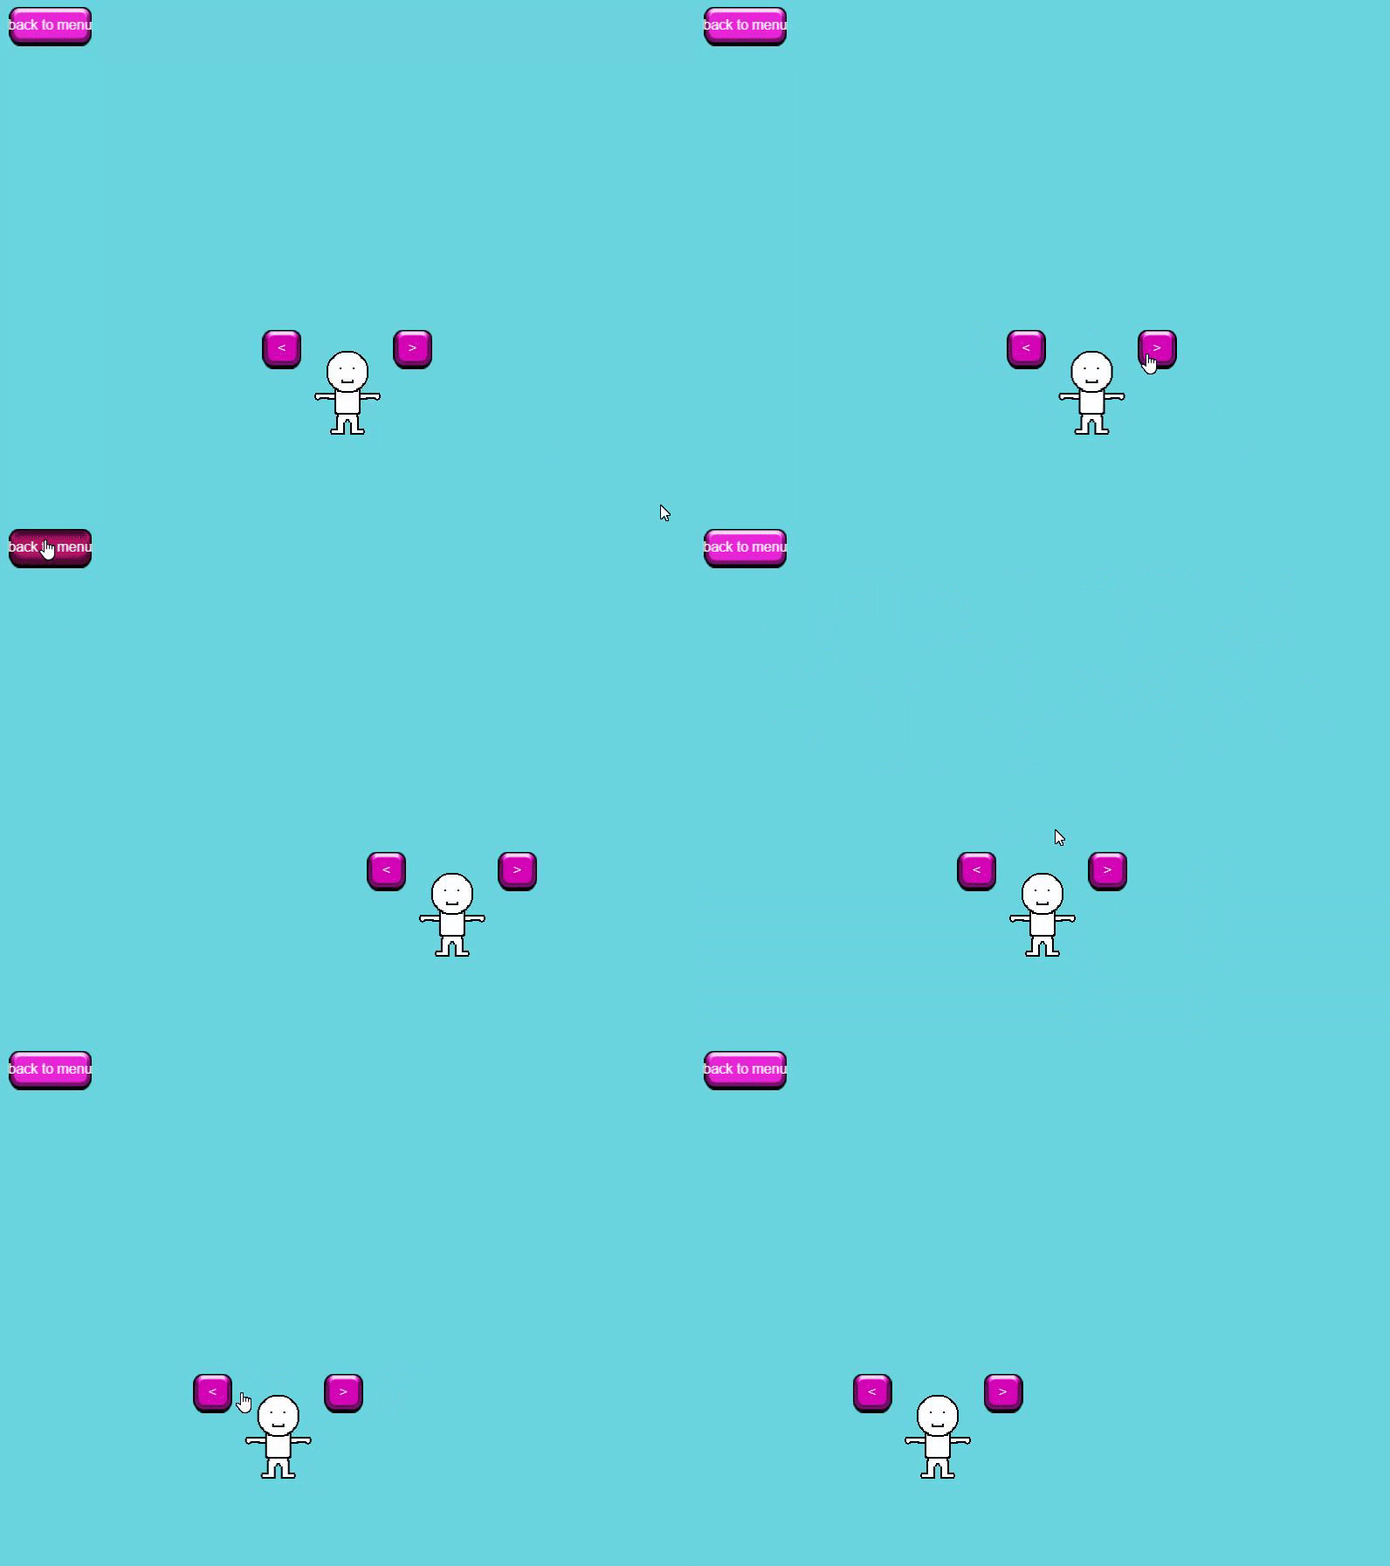
Result:

Now we have a player which is controllable by the user to make it move left or right by a simple press on the button!
Now we have organized our code and added a fun player to play with and easily to adjust and work on for future iterations!
This is about it for this episode, but! I have a bonus!
Bonus
A game is not fun with having some little artifacts! So lets add come clouds to our game to bring it more to life!
Now we already made a player and know how to export and import scripts lets just make a quick simple cloud script and instantiate it a couple of times in the menu and game!
//artifacts/cloud.js
export default class cloud{
    constructor(scene, sprite, xPos, yPos){
        var textureNormal = PIXI.Texture.from(sprite);
        this.cloud = new PIXI.Sprite(textureNormal);
        this.cloud.x = xPos;
        this.cloud.y = yPos;
        scene.addChild(this.cloud);

        this.speed = 0;
        this.randomize();
    }

    randomize(){
        // random speed from 0.5 to 1
        this.speed = (Math.random() * 0.5) + 0.5;
        this.cloud.scale.set((Math.random() * 1) + 0.5);
    }

    update(){
        this.cloud.x += this.speed;
        // when particular cloud reach x position of 1000 we reset it to -1000 and randomize
        // the speed and size to pool this object for flexible reusement.
        if(this.cloud.x > 1000){
            this.cloud.x = -1000;
            this.randomize();
        }
    }

    // don't forget to destroy ;)
    destroy(){
        this.cloud.destroy();
    }
}
//scenes/game.js

import Scene from './scene.js';
import Player from '../characters/player.js';
import Button from '../helpers/button.js';
import Cloud from '../artifacts/cloud.js';

// added new struct to references file named artifactsAssets to store location data of cloud asset.
import { sceneStates, artifactsAssets, gameAssets, uiAssets } from '../helpers/references.js';

export default class Game extends Scene {
    constructor(){
        super(sceneStates.game);
    }

    initialize(sceneManager){
        this.clouds = [];

        // creating 30 clouds
        for(let i = 0; i < 30; i++){
            var xPos = (Math.random() * 2000) - 1000; // x positioning between -1000 and +1000
            var yPos = (Math.random() * 300) - 100; // y positioning between -100 and +200
            this.clouds.push(new Cloud(this, artifactsAssets.cloud, xPos, yPos)); // add cloud to clouds array
        }

        var textureBg = PIXI.Texture.from(gameAssets.background);
        this.background = new PIXI.Sprite(textureBg);
        this.background.anchor.set(0.5);
        this.background.x = 400;
        this.background.y = 300;
        this.addChild(this.background);

        this.player = new Player(this, gameAssets.character, 400, 450);

        this.button = new Button(this, uiAssets.buttonPinkNormal, uiAssets.buttonPinkPressed, uiAssets.buttonPinkHovered);
        this.button.setPosition(60, 30);
        this.button.setText("back to menu");
        this.button.setOnPointerClick(function(){
            sceneManager.renderScene(sceneStates.menu);
        });
        super.initialize();
    }

    update(delta){
        super.update(delta);
        this.player.update();
        for(let i = 0; i < this.clouds.length; i++){
            this.clouds[i].update(); // update all clouds to make them move!
        }
    }

    destroy(){
        this.background.destroy();
        this.player.destroy();
        this.button.destroy();
        for(let i = 0; i < this.clouds.length; i++){
            this.clouds[i].destroy(); // don't forget to destroy ;)
        }
    }
}
You can place the clouds wherever you want them to be and how many you want of them. I also added them to my menu so the game has more movement going on and makes it feel alive!
That’s it for this episode!
In case you couldn’t follow something and really want to see the full script feel free to check my github repository for this episode: https://github.com/jscotty/html5_buildserie/tree/EP2_ImportExport
You can also find part 1 in this repository by simply checking the branches tab.
hope you’ve enjoyed this episode! If you have any questions, feel free to ask in the comments or message me on Instagram.
Greetings,
-Justin Scott


best cbd gummies
Hello there! Do you use Twitter? I’d like to follow you if that would
be ok. I’m undoubtedly enjoying your blog and look
forward to new posts.